Product designer
You have a product reference or concept image but need a tangible form for early review.
Create a visual model draft, then refine proportions and details before investing in a full manual build.
Turn a concept image into a modelPrint preparation
2d to 3d ai for 3d printing can help you move from a reference image to a model draft faster, while keeping the important checks—scale, geometry, supports, and wall thickness—in your hands.
Where it helps
A single image communicates shape, but it rarely tells a printer the full story. The useful workflow is to create a model draft, inspect its assumptions, and prepare it for the intended machine and material.
You have a product reference or concept image but need a tangible form for early review.
Create a visual model draft, then refine proportions and details before investing in a full manual build.
Turn a concept image into a modelYou want to recreate a household object from a few photographs without starting from a blank CAD screen.
Use the generated mesh as a starting point for cleanup, scaling, and print-orientation decisions.
Test a reference object workflowA product image exists before a physical 3D asset is available for a scene or mockup.
Build a presentable model draft for review, with clear caveats around hidden surfaces and fine details.
Create a product model draftA 2D diagram or reference picture needs to become a tangible teaching aid or prototype.
Explore form quickly, then simplify the result for reliable printing and classroom handling.
Explore a printable teaching aidChoose your path
The right starting point depends on the evidence in your images and the standard required for the final print. Use these decision points before treating a generated model as production-ready.
1
Start with an image-based model draft, then compare the silhouette and major proportions against the reference.
One view can suggest form quickly, but hidden geometry remains uncertain.
2
Use the views together and check whether front, side, and rear features agree before making a print file.
Multiple images reduce ambiguity, although they do not replace measurements or a watertightness check.
3
Use the generated result only as a reference and rebuild or edit critical geometry in a CAD or mesh tool.
Fit, clearance, threads, joints, and load-bearing features require measured validation.
Three practical routes
Each workflow treats generated geometry as a useful draft rather than an automatic guarantee. Keep the review step explicit, especially when the object has hidden cavities, mating parts, or safety implications.
Execution sequence
Use a clean reference image to establish the overall silhouette of a decorative object, prop, or early product concept. Review the proportions and remove details that would create fragile or unsupported features before slicing.
Execution sequence
When you have front, side, and rear references, use them to guide a more complete object draft. Compare the generated surfaces against each view and flag any areas that are inferred rather than directly observed.
Execution sequence
Prepare the model for a practical print review by checking scale, wall thickness, overhangs, openings, and the intended orientation. Repair or remodel problem areas before committing material and machine time.
Visual checkpoint
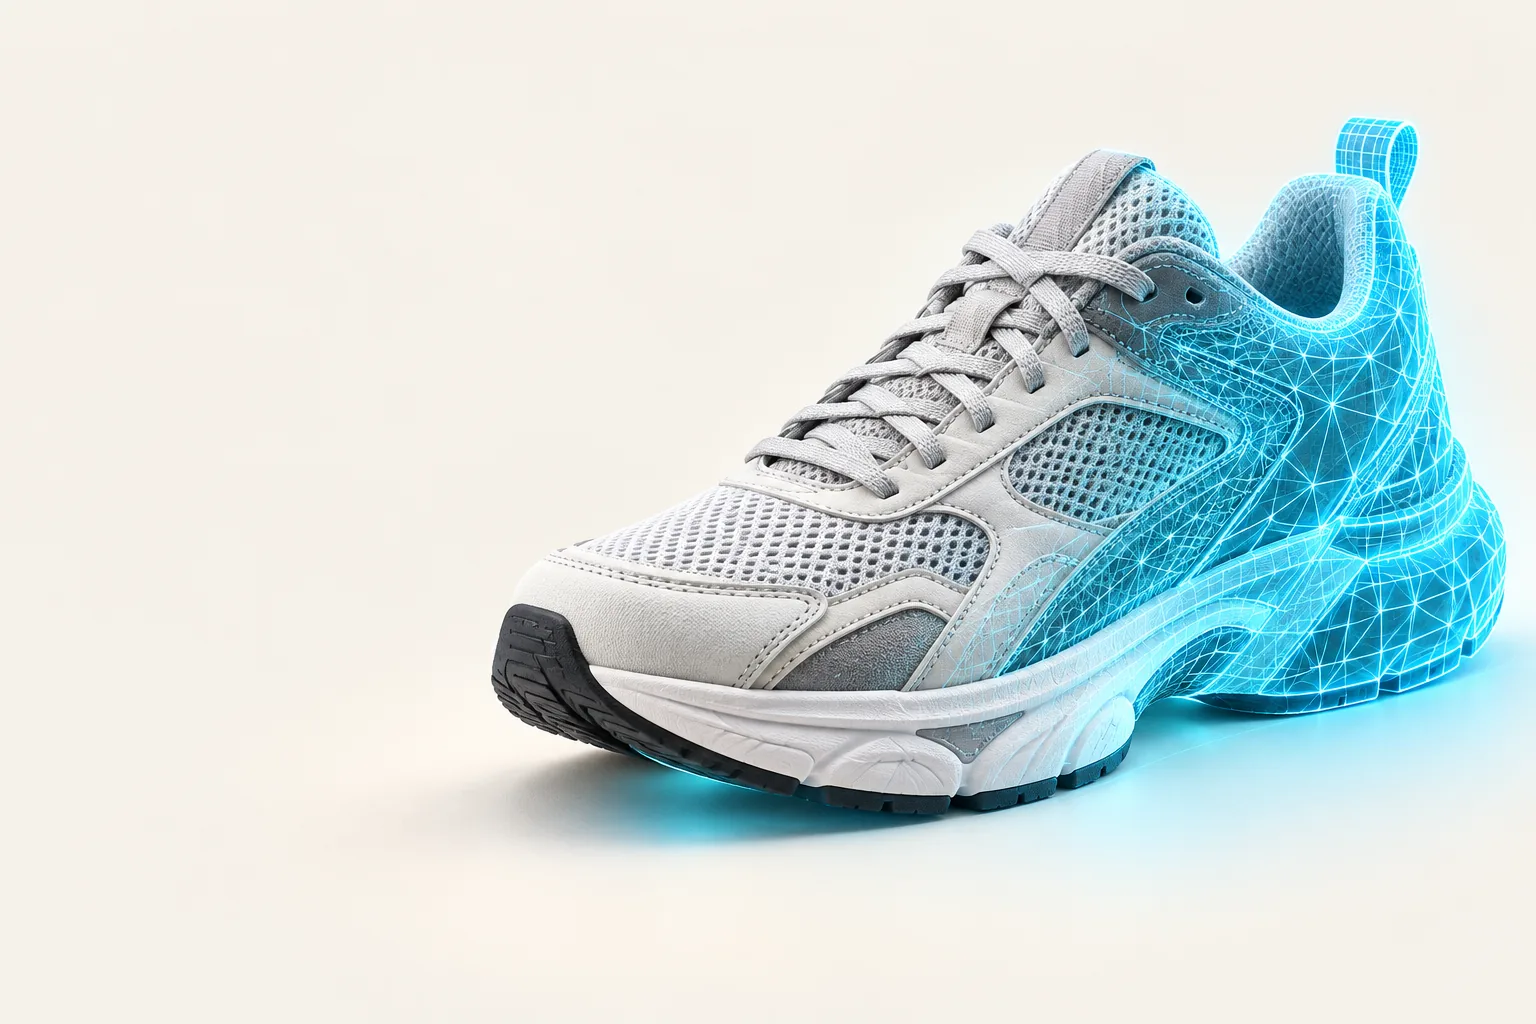
The useful change is not simply a new 3D view. It is a model draft that can be inspected against the source, measured, repaired, and prepared for the constraints of a real print.
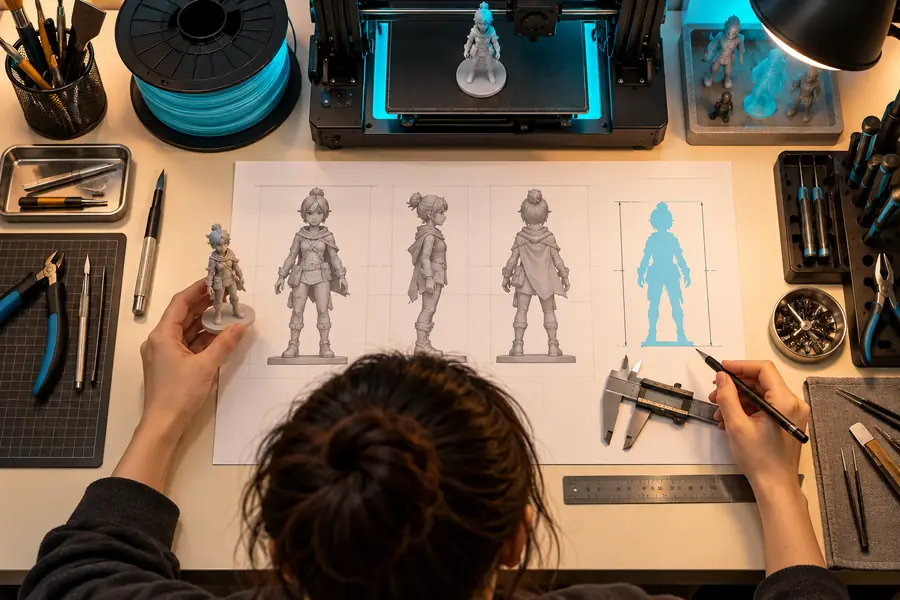
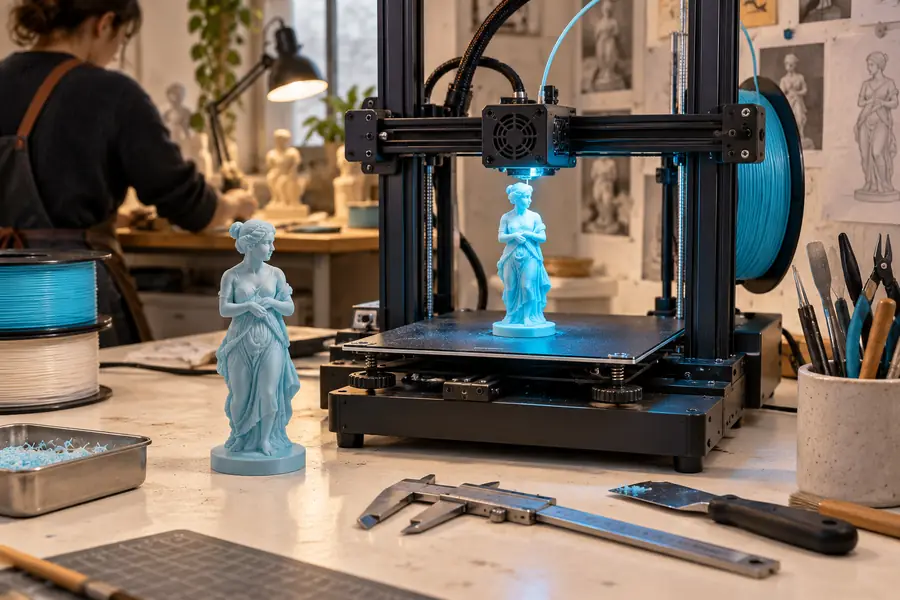
Compare silhouette, scale, openings, and wall thickness before slicing.
Review before release
A model that looks correct on screen can still fail in the slicer, on the build plate, or in use. Treat these checks as part of the workflow rather than as optional polish.
“A generated mesh is a starting point, not a finished print.”
“Any mating surface needs measured dimensions and a deliberate tolerance check.”
“The final choice depends on the material, machine, environment, and intended use.”
Start with a draft
Use Alpha3d as the first step in a practical 2D-to-3D workflow. Bring a clear reference, describe the object, and keep the final print decisions—dimensions, repairs, orientation, supports, and material—under review.
Scenario FAQ
These answers focus on the practical limits of turning images into models for physical output.
It can provide a useful model draft, but a finished STL still needs inspection and preparation. Check whether the mesh is closed, correctly scaled, and suitable for your slicer before printing.
Use a clear image with the object separated from its background and enough visible detail to understand its major surfaces. Multiple consistent views are better when hidden geometry, depth, or fit matters.
It can help establish a starting shape, but fit-critical parts should be measured and edited in a suitable CAD or mesh workflow. Verify clearances, interfaces, threads, and load-bearing areas before production.
Check dimensions, wall thickness, overhangs, openings, sharp features, mesh closure, orientation, and support requirements. Also confirm that the selected material and printer are appropriate for the object's intended use.
No. Surfaces that are hidden from the reference must be inferred, so they may not match the real object. Treat unseen areas as assumptions and review them carefully before relying on the model.